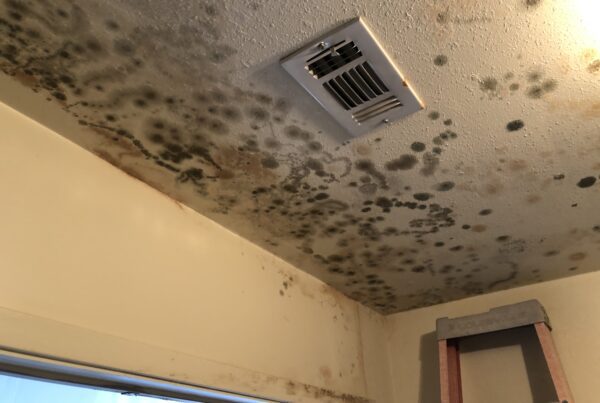
If you have ever experienced a water damage situation at your home or business, you are familiar with the phrase moisture readings. When it comes to water restoration, one of the most crucial components of the project is obtaining accurate moisture readings. If even one hidden pocket of moisture is missed, contractors run the risk of not properly drying out the affected area and the potential for secondary damages weeks down the road.
Moisture readings are arguably the most important aspect of any drying project. These readings help determine if saturated building materials are properly drying and help identify any hidden problems that may exist. Below are steps that professional restoration contractors utilize for taking precise moisture readings.
- Step 1: Choose the best moisture meter for the material
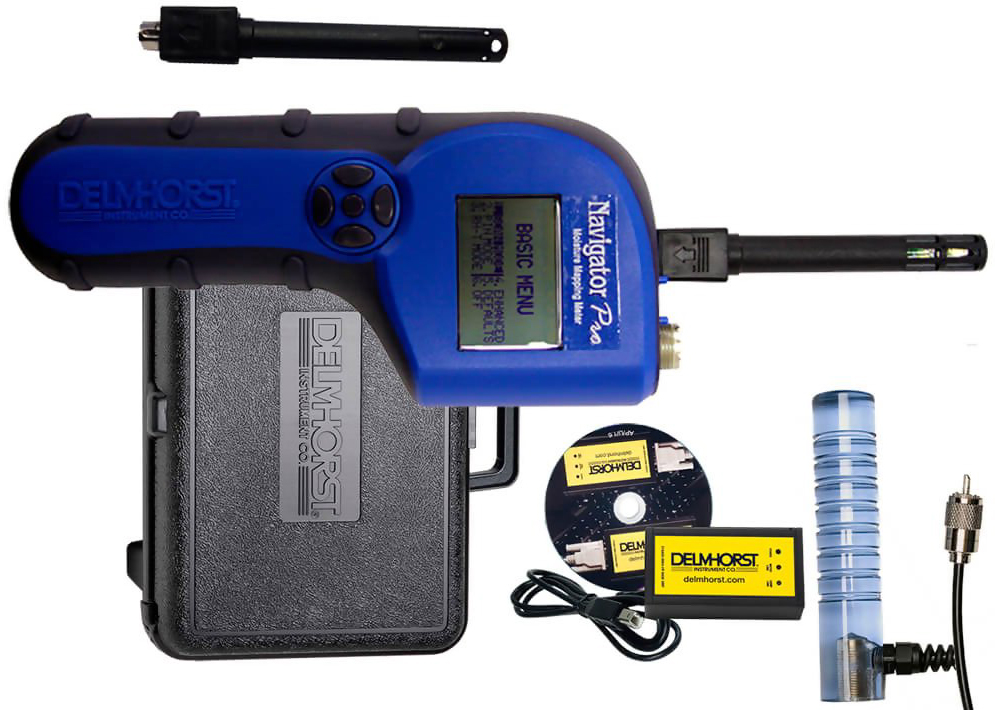
Selecting the appropriate moisture meter is vital. Penetrating meters, which use pins or probes, are generally more reliable but have the potential to damage the material if not used properly. Non-penetrating meters avoid damage but may not always be as accurate. Materials such as wood framing, carpet and pad, wood subfloor, batt insulation, and hardwood flooring are good examples of where a penetrating meter would be used. Materials such as drywall, plaster, vinyl, ceramic tile, concrete, and cabinetry are good examples of where a non-penetrating meter would be used.
- Step 2: Establish the drying standard (this is also the drying goal or equilibrium moisture content (EMC))
Determine the materials affected by water damage and find an unaffected area of the same material elsewhere in the home of building. Measure the moisture content in this unaffected area to set your drying goal. This goal or Equilibrium Moisture Content, is reached when the affected materials have the same moisture level as the unaffected materials. According to the IICRC S500 standard, a reading within 4 points of the drying goal is considered within the margin of error and can be deemed dry.
- Step 3: Check moisture level with a penetrating moisture meter
Insert the pins of the moisture meter fully into the affected material and record the reading. Check several points along the material to avoid outlier data. For wall, measure at various heights to see how far the water has wicked up. It is important to always return to the same spots when monitoring progress.
- Step 4: Check moisture levels with a non-penetrating moisture meter
Hold the sensor of the non-penetrating moisture meter against the affected material and record the reading. Check multiple points along the materials to avoid outlier data and measure at various locations. It is important when using non-penetrating moisture meters to check a variety of areas to confirm readings as false positives can be a common occurrence. Concrete and ceramic tiles often show high levels of moisture even when they are dry. To find true moisture, scan a large portion and look for inconsistently higher moisture areas.
Proper moisture readings will help save time during the drying process and are the best defense against future problems. Until next time my friends, be prepared and stay safe.
Reference: “How to take moisture readings for water mitigation” by The KnowHow Team